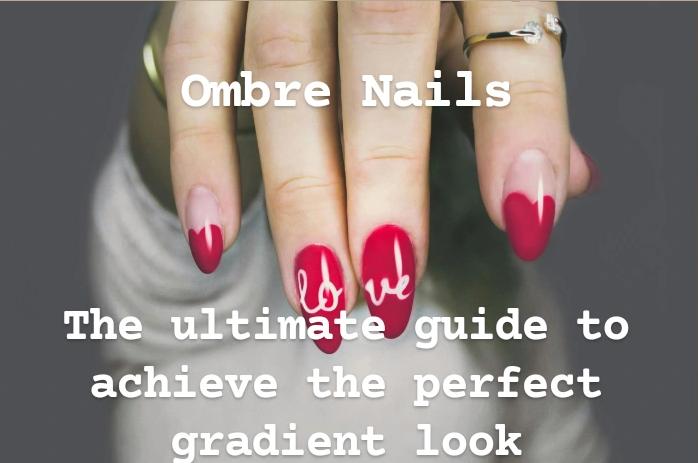
Nail art has also evolved dramatically in that it has changed from being just a solid color on the fingers, to that of well-decorated figurines. One of the trends that remains fascinating thanks to its graceful, blending finish is ombre nails. If you are looking to include this trend to your repertoire or you already consider yourself an aficionado of nail art, then this guide on how to get the best ombre nails will be helpful.
What Are Ombre Nails?
It consists of the blending of two or more colors in a gradual manner. The simplest and most often seen mix of colors is the ‘french ombre’ with a darker color at the nail bed and a lighter one on the tips of the nails yet this does not mean it is the only way in which ombre nails can be achieved. You can also combine a warm peach with a gold setting to create a more sophisticated looking transition.
Ombre nails as they say, give you choices. Depending on your mood and possibly the occasion, you may go overboard with the nail art or tone it down for more finesse perfect for standard office use or dress it up for special events and so on.
Why Ombre Nails Are So Popular
There are many ways why ombre nails have emerged as the most preferred style of nail art by many, thanks to their aesthetics and practicality. Below are some of the reasons as to why they are prevalent:
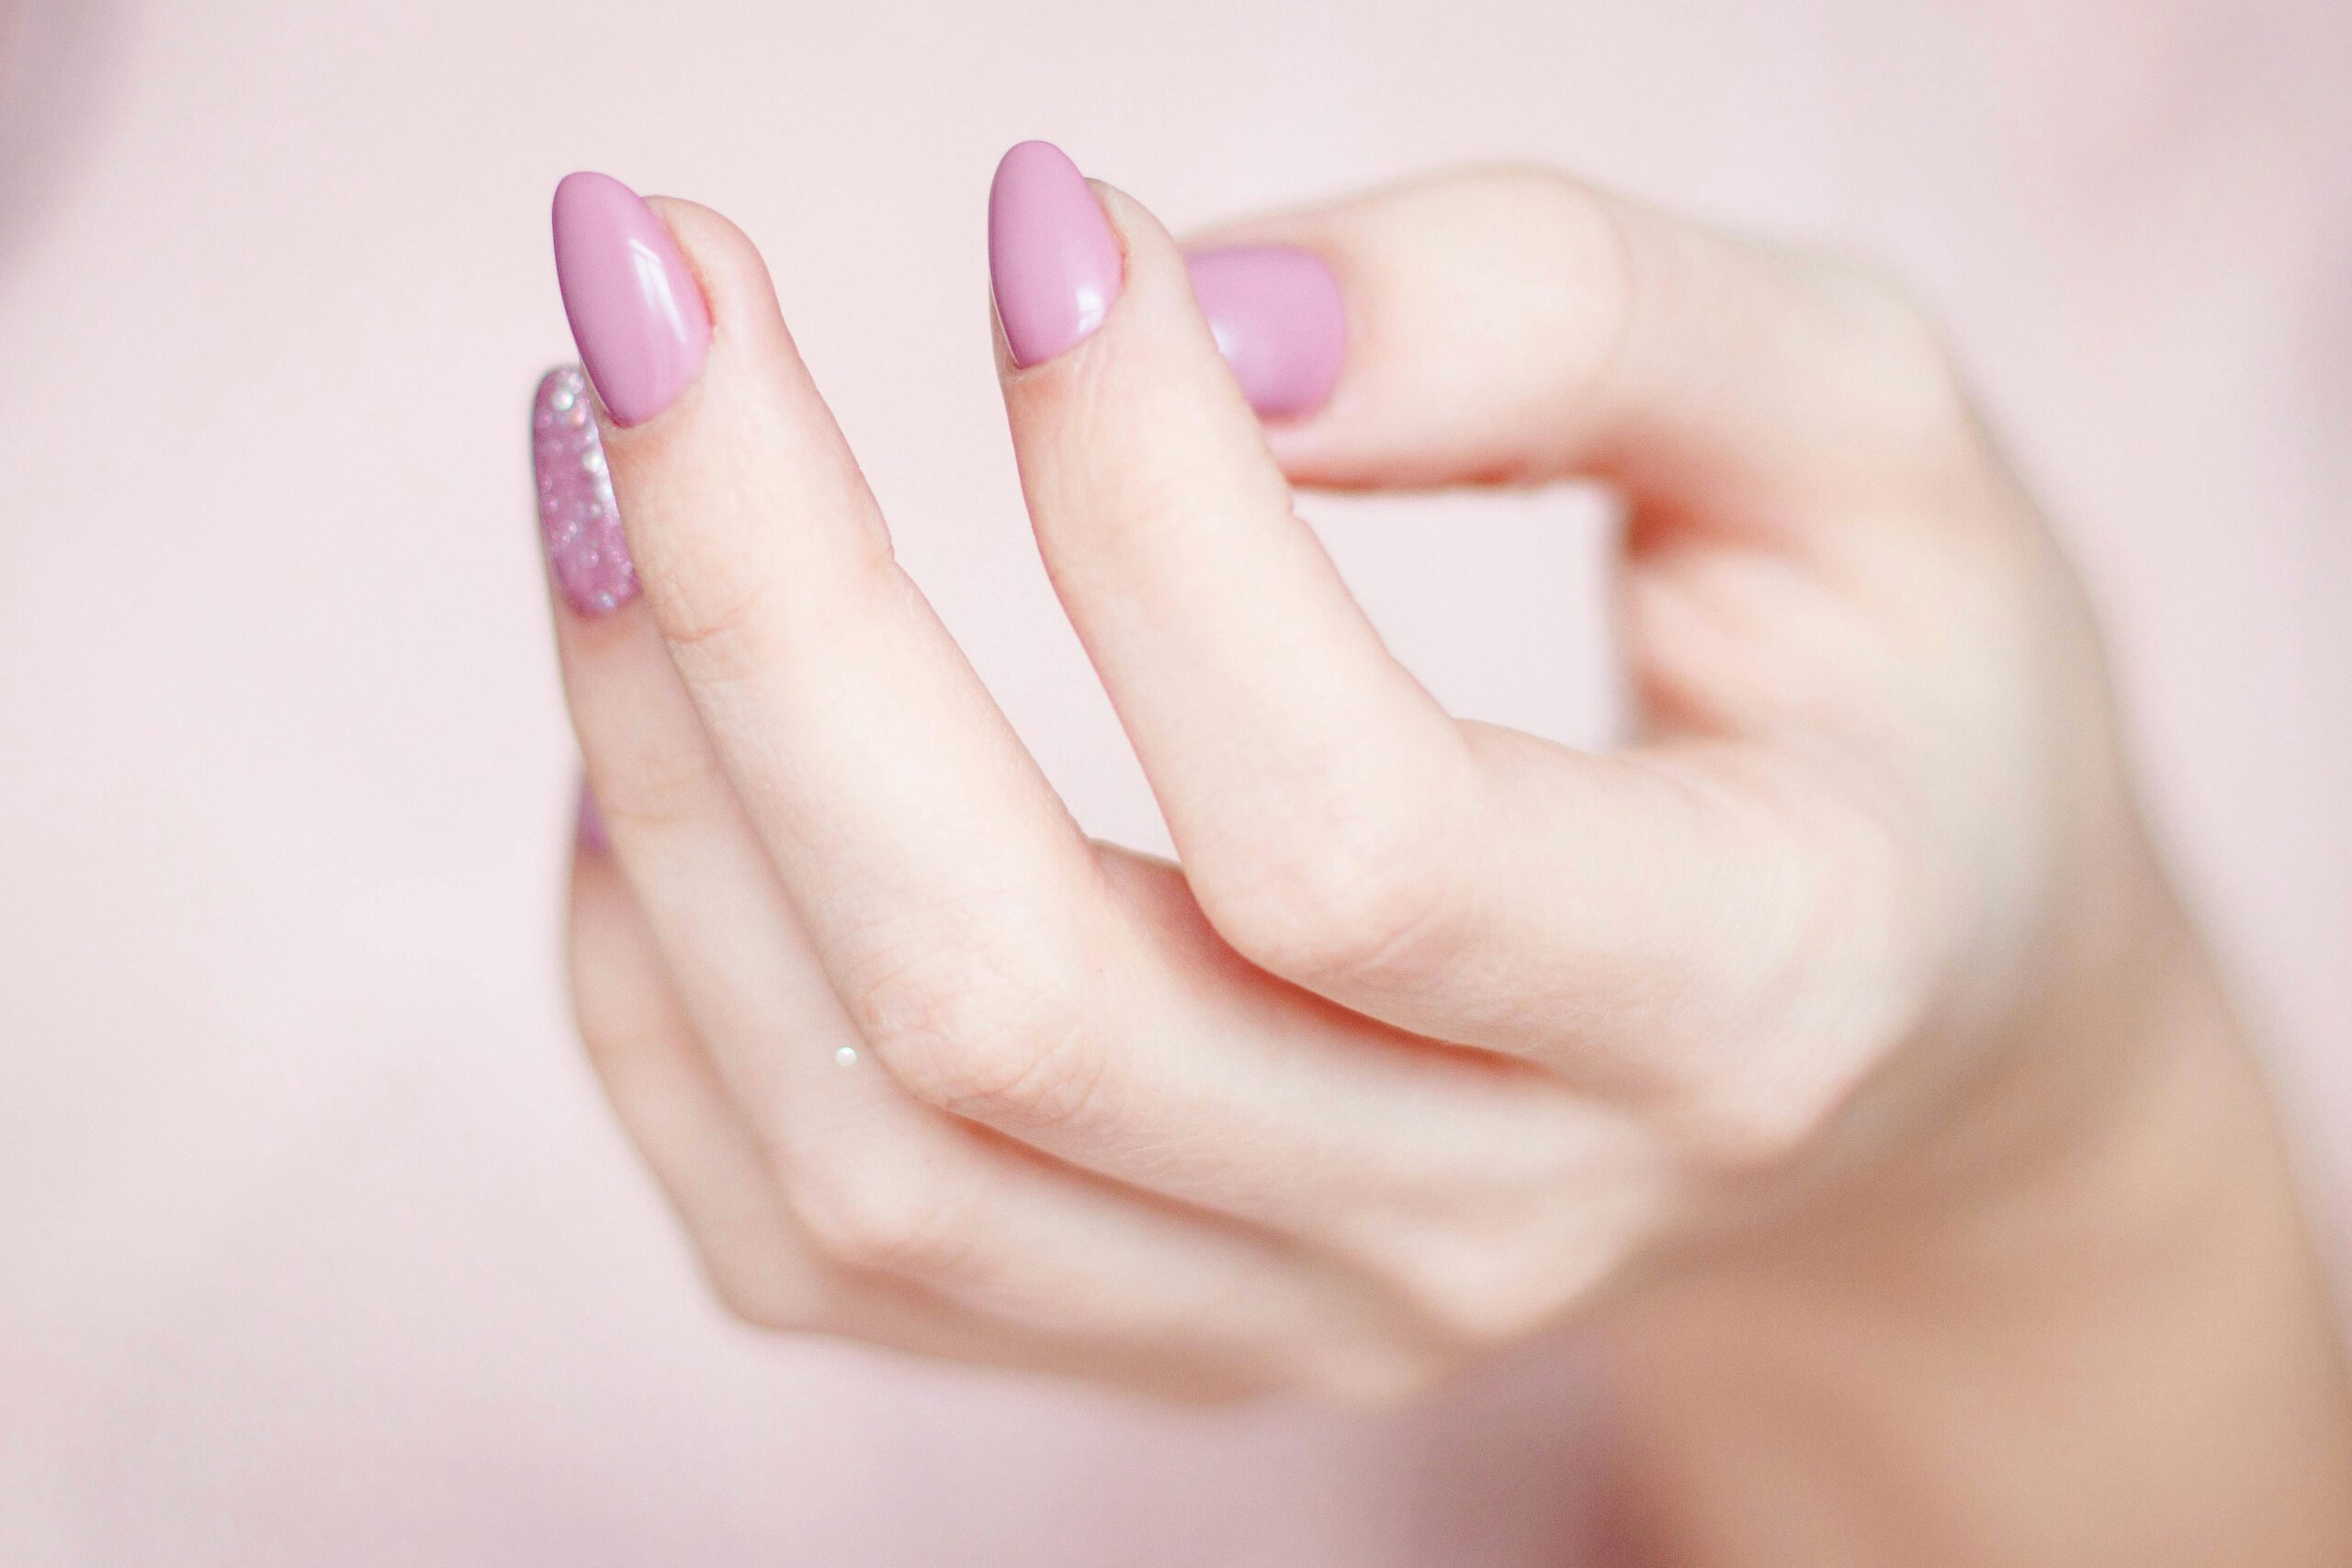
Customizable: Ombre nails can be made so to whatever color from the color spectrum, therefore they can be worn all the season all the time and in varying fashion trends.
Versatile: Whether you feel like going for a softer, more feminine style or a bolder more daring style, ombre nails would definitely be a part of your style.
Works for All Nail Shapes: The ombre effect is broad reaching, working on all shapes of nails even the ones that are oval, square and coffin shaped.
Suitable for Any Occasion: Different colors and designs can be applied to ombre nails which can therefore be worn for both casual and formal occasions including the office and weddings.
Want the ombre nails? Here’s how you can do them at home
If you are not very familiar with nail arts, ombre nails may seem tedious or difficult, but it is achievable at home with some practice and the right materials.
Tools You’ll need:
Two or more nail polish colours (one dark and the other light, you may choose any colours you wish)
Make up sponge or sponge for nail art
Base and top coat
Nail polish remover and clean-up brush or cotton buds
Latex tape for your nails or regular tape to protect the skin around your proximal nail fold (Optional but highly recommended)
Step-by-Step Guide:
Step 1: Prep Your Nails
Begin by filing the edges of your nails and shaping them up to the desired length. The cuticle should be pushed back and the tip of the nail, where the polish will be applied, should be smoothened. After that, take a cotton wool soaked with a nail polish remover and wipe the area of the nails free of grease or any other dirt which may act as a barrier to the stickiness of the nail polish itself.
Step 2: Apply a Base Coat
As well, the base coat also prevents the nails from getting stained and extending your polish application. The secret is to apply one thin coat and leave it to dry before more layers are applied, progressing to the next phase of the nail polish application.
Step 3: Apply Your Base Color
This is the color that will be the base of your gradient, choose the lighter one. Apply this color to all your nails in two thin coats allowing each to dry completely before applying the next one in order to ‘smoothen’ the nail base for the ombre.
Step 4: Prepare the Sponge
Now, take a makeup sponge and smear out two stripes of the nail polish in two colors, one is a light-colored polish and one is a dark-colored one. The colors should be slightly overlapping in the centre, as this will help you blend the colors into a gradient. Colors are then applied in the reverse order, with the lightest colors at the bottom and the dark at the tip.
Step 5: Tap the Sponge on Your Nails
Using the sponge, tap it onto the nail surface gently while starting at the cuticle and then working your way outward to the tip of the finger. Whichever method you decide to adopt, it is apparent that you will be doing this severally in order to increase the opacity of the polish. Note that there is no need to panic even when the sponge creates a mess as there is a top coat that will come and cover that part.
Pro Tip: When dabbing color on the sponge, tilt the sponge a little to achieve a nice blend of the colors.
Step 6: Clean Up the Edges
After feeling satisfied with the overall gradient effect, you have to pick up your polish once again, this time to take off the excess polish that has been uniformly floating around the borders of your nails. Alternatively, you may utilize a cuticle swab or cotton swab containing some acetone to clean other portions.
Step 7: Apply a Top Coat
Using an ultra shiny top coat apply over the ombre nails to enhance the gradient and provide some additional shine to the nails. This step cannot be disregarded because the top coat does not only lock in the design that has been created by the nail art but it further blends the color the best way it can which results into an ombre.
Step 8: Dry and Enjoy
Wait for your nails to dry, and voila! Everything is in place; you can expose the beautiful ombre nails you have created.
Ombre Nails Ideas for Special Events
Below are some of the popular ombre nail color and style that you may get inspirations for your next manicure and pedicure.
Gradient Nude Over White
An ombre effect which changes from a nude color to white can ideally be worn for a soft powdery look. This look is very appropriate for weddings events, office decorations or any other occasion that calls for gentle finish on the nails without being over bearing.
Attention-Grabber
If you are bold and daring, it’s time for you to use a gradation and make it bright. Try such combinations as hot pink for tips and deep blue for the rest or yellow-green covering the toes and orange covering the rest. Ideal for the summer or a festival nail design which you would like everyone to see first.
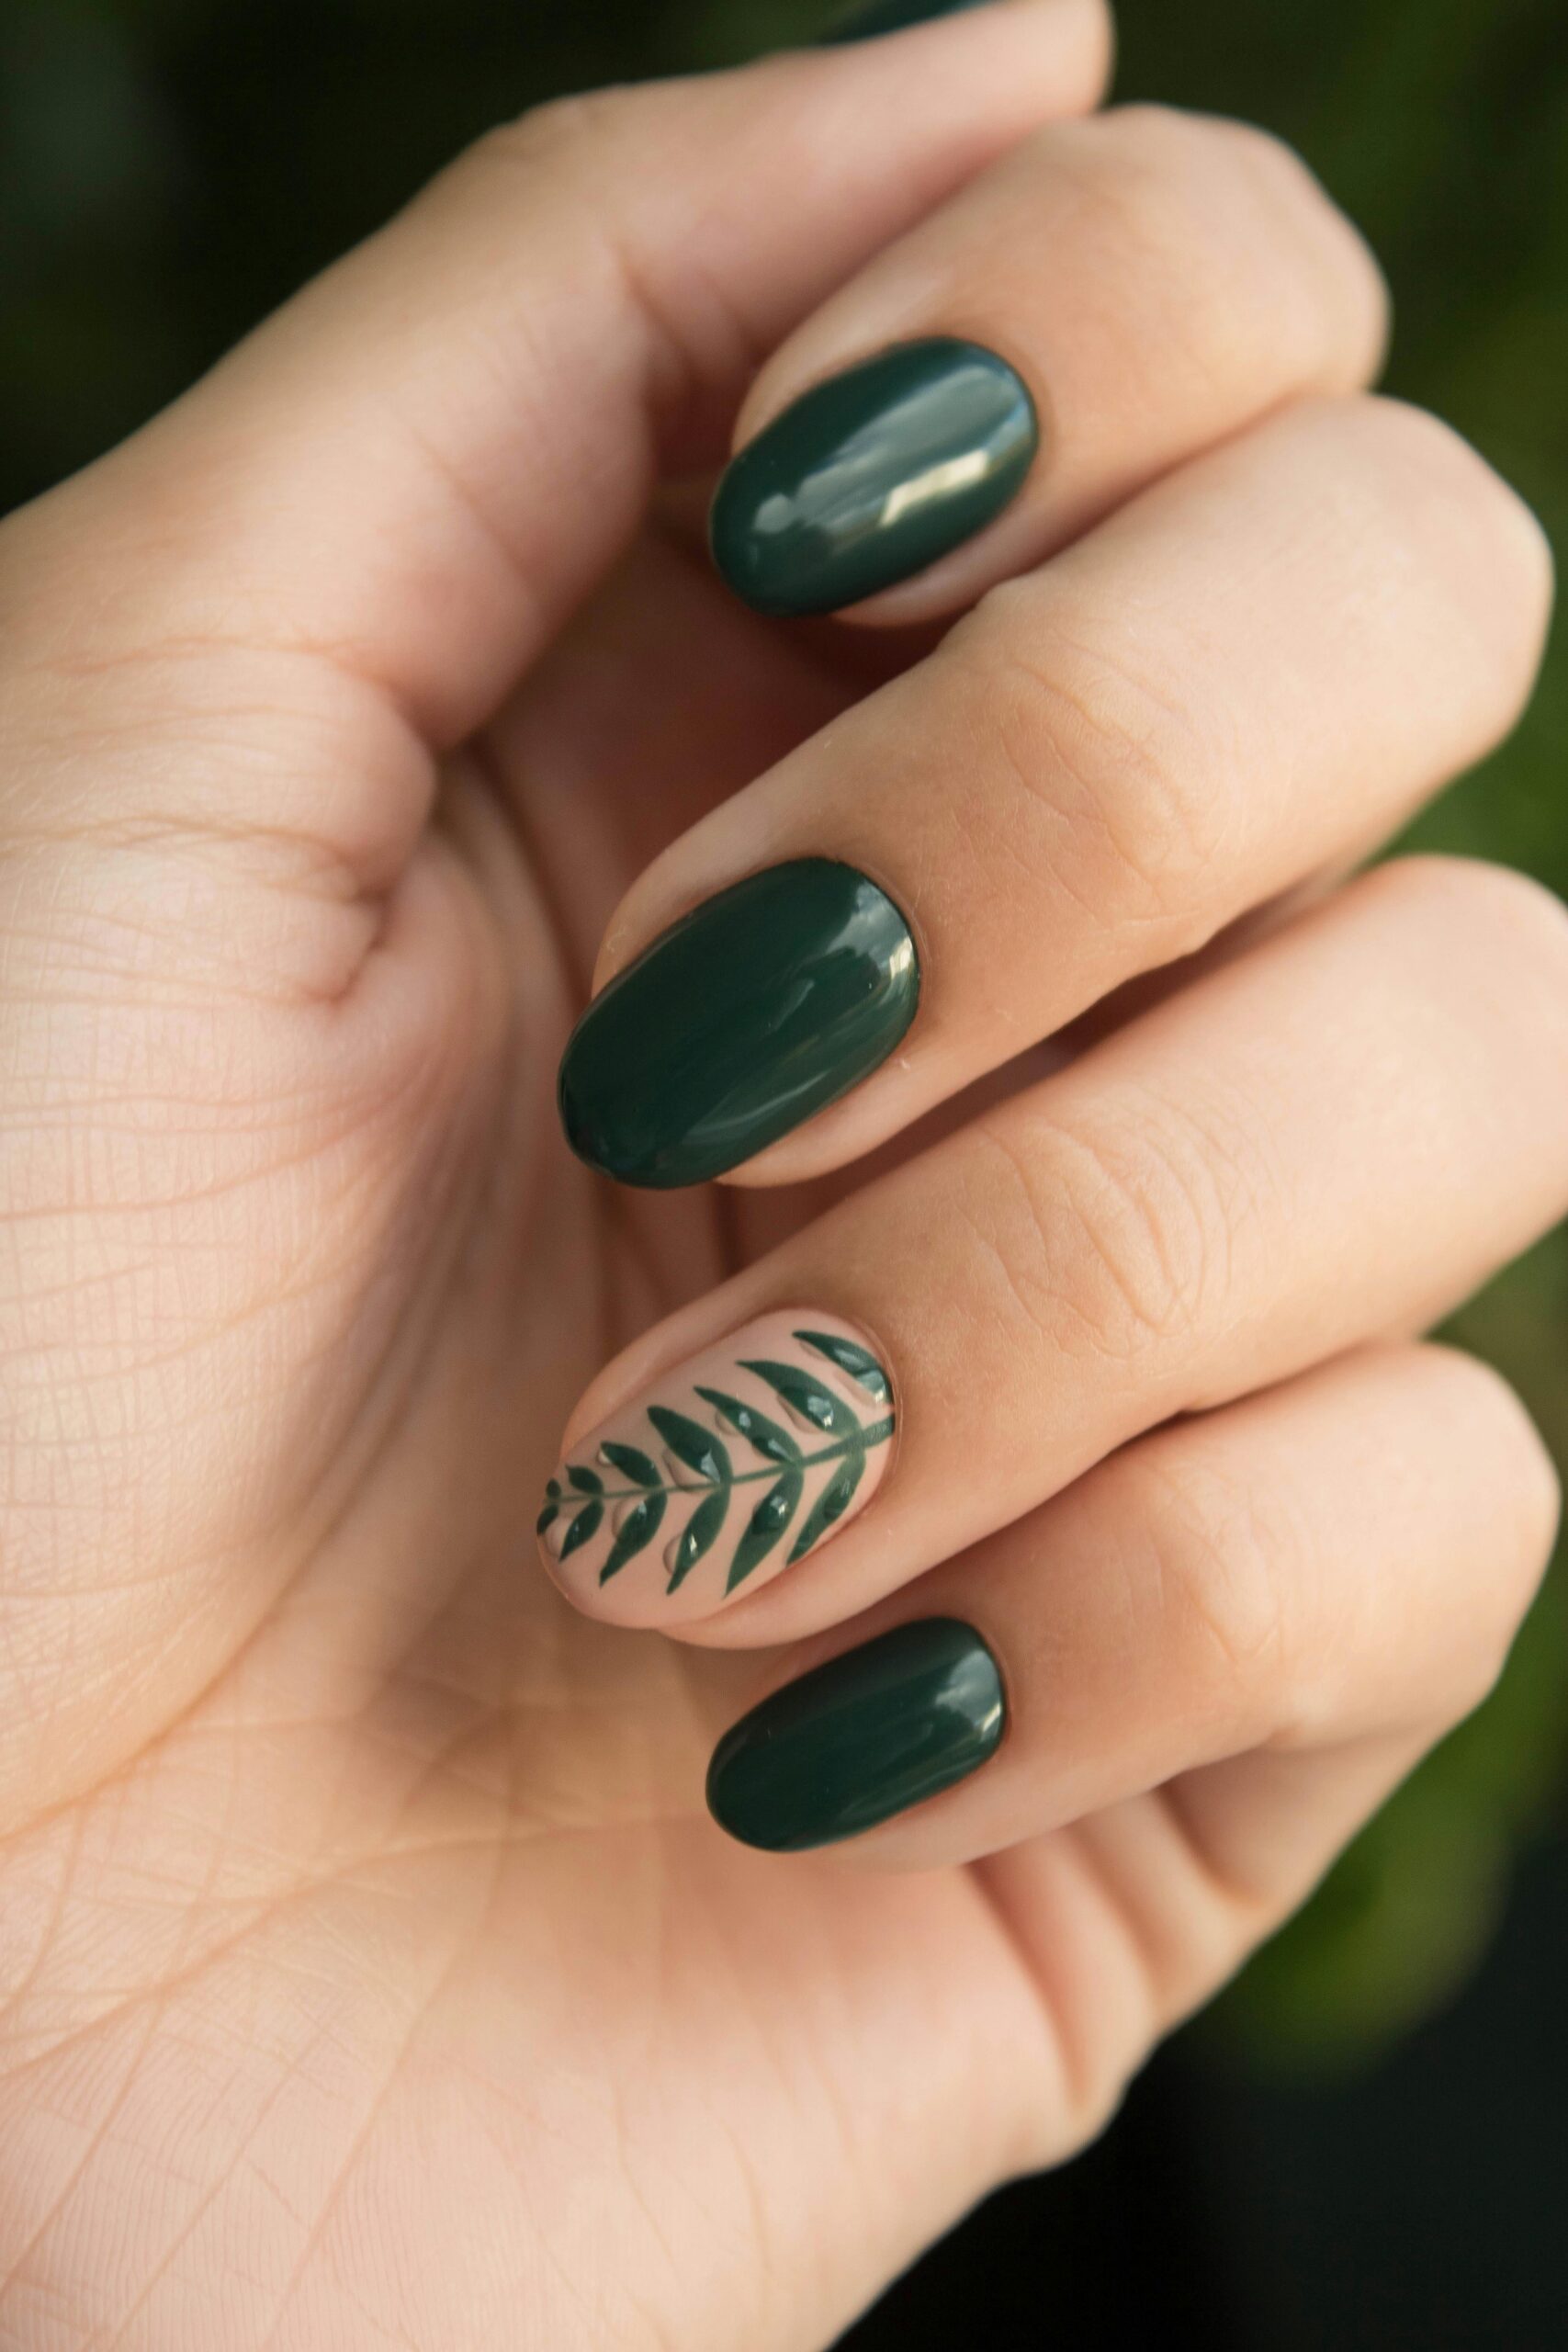
Dark Shade
You may as well like the aspect of darkness in such designs and opt for bold colors like plum, black or navy blue misting into pale grays and calm colors. Its autumn and winter period, you are looking for a way to spice up your simple style looking all classy yet a bit enigmatic.
Glitter Ombre
For a festive touch, using glitter in your ombre nail art designs can be a great idea. Glitter can be either kept at the tips of the nails or directed towards the nail leaving its base clear. This look will come in handy on holidays or when you want to make yourself look more glamorous than usual.
Monochrome Ombre
Use different shades of the same color to fascia subtle color for monochrome ombre. To illustrate, when blending from light pink to dark pink, it remains within one color family but manages to look beautiful at the same time. This is an option for those who do not mind uniform coloring but want some design elements.
Maintaining Your Ombre Nails
Here are some tips you can follow, however, so that your ombre applies as reasonably as it is a reasonable expectation:
Make use of a quality top coat: A bright clear nail polish should be reapplied every 2-3 days to enhance the look of the finished manicured hand and preventing it from chipping.
Moisturize your cuticles: Maintain the cuticle’s health by using cuticle oil regularly to avoid it drying pot and lumpy.
Avoid harsh chemicals: Put on protective gloves when washing dishes or working with any harmful chemicals so as not to put ailing nails to more harm.

YOU MAY ALSO LIKE:-Dior Lipstick: A Timeless Symbol of Elegance and Luxury 1
Makeup Bag : The Ultimate Guide to Curating the Perfect Makeup Bag 1
Conclusion
Nail Ombre is one of the most chic techniques you can use to upgrade your nail design. No matter how you wish to use the ombre nails; subtle or bold styled, they will never jarr any of the designs maintained as they are on trend for any occasion. With proper materials and training, a salon type of gradient can be acquired at home.
Hence, what are you waiting for? This incredible nail art design is not too difficult to create using the nail techniques you have learned. The pretty art will be appreciated by your nails!
Your article helped me a lot, is there any more related content? Thanks!
Your point of view caught my eye and was very interesting. Thanks. I have a question for you.
Thanks for sharing. I read many of your blog posts, cool, your blog is very good.
Thank you for your sharing. I am worried that I lack creative ideas. It is your article that makes me full of hope. Thank you. But, I have a question, can you help me?