
Few themes match the elegance and mystique of Snow Queen makeup for dramatic, ethereal beauty looks. You could be preparing for a winter-themed party, a cosplay event, or simply want to embody your frosty alter ego. This guide will help you achieve a stunning Snow Queen look that radiates icy charm and regal allure.
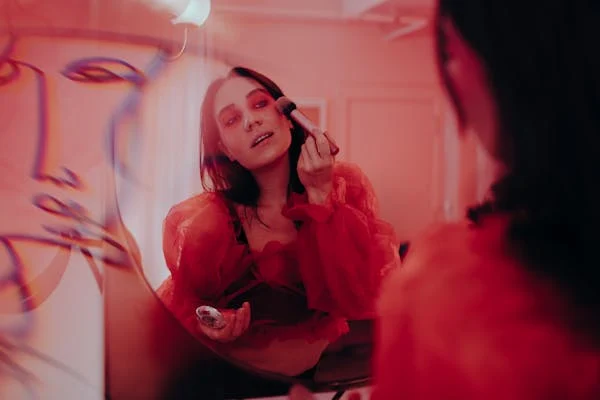
Step 1: Preparing Your Canvas
First step to get the look of Snow Queen Makeup.
A flawless base is where every good makeup look begins. Your skin for Snow Queen makeup should look smooth, radiant, and almost porcelain.
Here’s the process to do it-
Cleanse and Moisturize: First, clean your face for all impurities.
Apply your favourite moisturizer afterward so that your skin feels soft and hydrated.
Primer: Apply a luminous or mattifying primer depending on your skin type. This ensures that your makeup remains intact for the day or night.
Foundation: Pick a foundation that is a shade lighter than your natural tone to achieve that icy, ethereal complexion. Use a beauty sponge or brush to blend well.
Concealer: Apply light-reflecting concealer under your eyes and use it to cover blemishes.
Setting Powder: Tread lightly on the face applying a translucent powder. Dull the luminosity a little.
Step 2: Creating Frosty Eyes
This is the second step to get Snow Queen Makeup.
Your eyes are the center of the Snow Queen look, so go all out with frosty hues, shimmering accents, and bold lashes. Follow these steps:
Eyebrows: Shape and fill your brows to frame your face. Use cool-toned brow products for a frosty effect.
Eyeshadow Base: Apply an eyeshadow primer to make sure the colors pop and stay vibrant.
Eyeshadow:
Icy blue, silver, and white can be the primary color shades. Apply a shimmery, silver eyeshadow all across the lids.
Blend softly a shade of blue across the crease for adding depth to your eyelid.
Highlighting can be applied to the inner corners in a pearly white or in an iridescent hue.
Loose pigments or glitter gels can add sparkle by the side to the eyelids in order to evoke the falling freshly fallen snow.
Eyeliner: A white or metallic silver eyeliner lines the waterline. Dramatic flair comes in a black or navy-blue winged liner on the upper lash line.
Lashes: Voluminous, fluttery false lashes or lengthening mascara can finish off the look, with white or silver mascara adding an extra frosty vibe to the tips.
Step 3: Sculpting with Snow
Time for the step-3 of Snow Queen Makeup
Contouring and highlighting are very important parts of the Snow Queen look. Strive for a chiseled, glowing appearance:
Contour: Use a cool-toned contour powder to shape your cheekbones, jawline, and nose. Blend well for a natural shadow effect.
Highlight: Pick a frosty highlighter that has silver or pearlescent undertones. Apply it on the high points of your face: cheekbones, brow bones, nose bridge, and cupid’s bow for an ice-kissed glow.
Blush: Soft pink or lavender blush can be chosen to give a subtle color to the cheeks without overpowering the frosty theme.
Step 4: The Perfect Frostbitten Lips
Your lips should be the perfect accompaniment to your icy elegance. Here’s how to get that Snow Queen pout:
Exfoliate: Start off by gently exfoliating your lips to remove any dryness or flakes.
Lip Liner: Define your lips with a cool-toned or nude lip liner.
Lipstick: Use a frosty shade like icy pink, pale blue, or even white. Metallic or holographic finishes work especially well.
Gloss: Finish your lipstick with a clear or shimmery gloss for an icy shine like frozen dew.
Step 5: Final Frosting
To be the perfect Snow Queen and achieve the look of Snow Queen Makeup, add some other icy touches:
Face Jewels: Use adhesive face jewels or rhinestones around your eyes or cheekbones for a queenly touch. Iridescent or silver tones work well.
Body Shimmer: Dust a shimmering body powder on your collarbones, shoulders, and arms for an all-over glow.
Hair: Style your hair in a sophisticated updo, braids, or loose waves. Add silver hair accessories, a tiara, or sprinkle temporary glitter spray for an icy effect.
Nails: Finish your look with a manicure featuring frosty nail polishes in silver, white, or icy blue shades. Add glitter or snowflake decals for extra flair.
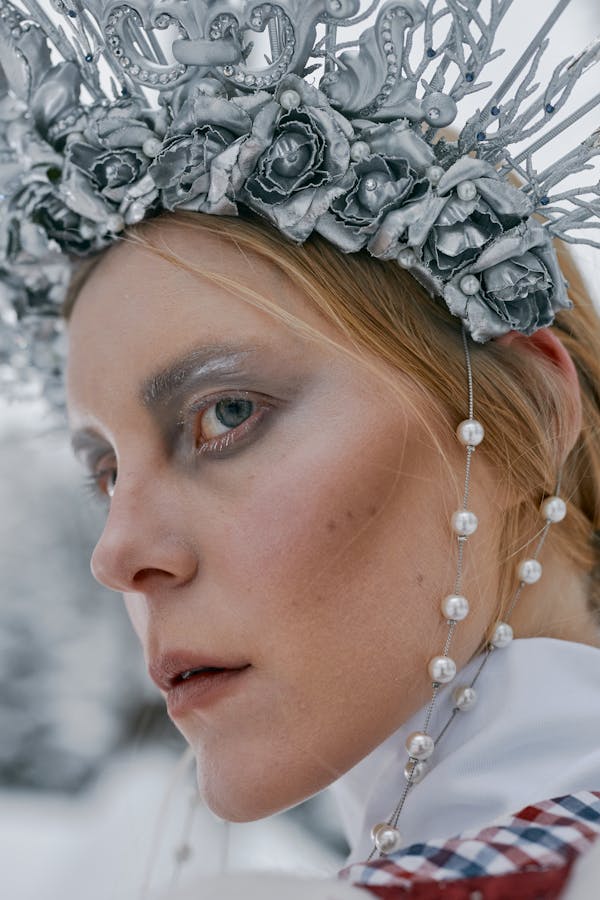
Snow Queen Makeup Ideas for Inspiration
Classic Snow Queen: Soft blues, whites, and silvers with delicate rhinestone accents will be a classic icy look.
Fierce Ice Queen: Bold, smoky eyes, sharp winged eyeliner, and deep metallic lip color give off an edgier vibe.
Fantasy Snow Queen: Whimsical and otherworldly look can be created with holographic pigments, multicolored glitters, and elaborate face gems.
Minimalist Snow Queen: Choose soft frosty shades and a light shiver foPro Tips to Flawless Finish
Blend, Blend, Blend: Be sure all products are mixed well for no hard lines and a good-looking application.
Layer for Intensity: Lay down colours gradually for much better control and depth.
Set Your Look: Setting sprays ensure that the look stays for longer with a finish of dewiness.
Test Products: Always do a patch test on any new products. Avoid the irritation on the skin.
Snow Queen Makeup: The Occasion Ends
Snow Queen makeup is very versatile and suitable for any kind of event, such as:
Wedding during winter season
Holiday parties
Themed photo shoots
Cosplay conventions
Halloween or costume parties
Embracing this look can make you stand out and leave a magical impression wherever you go.
You may like-Cloud Texture Skincare-Authentic of 2024
Peptides in Skincare: The Game-Changer for Anti-Aging and Skin Health 2024
Seasonal Skincare: Your Guide to Radiant Skin

Conclusion
Snow Queen makeup is a beautiful way to channel your inner royalty and embrace the enchanting spirit of winter. So whether a beginner or a makeup guru, it’s about the fun of letting creativity flow: frosty hues, sparkling highlights, and bold accents help you conquer your icy kingdom in style. Get hold of those brushes, imagine yourself as Elsa or Jadis, and prepare yourself to dazzle like that Snow Queen you truly are.r a more subtle yet elegant version. I hope you liked the tutorial of Snow Queen makeup. THANK YOU AND KEEP LOVING!