Introduction
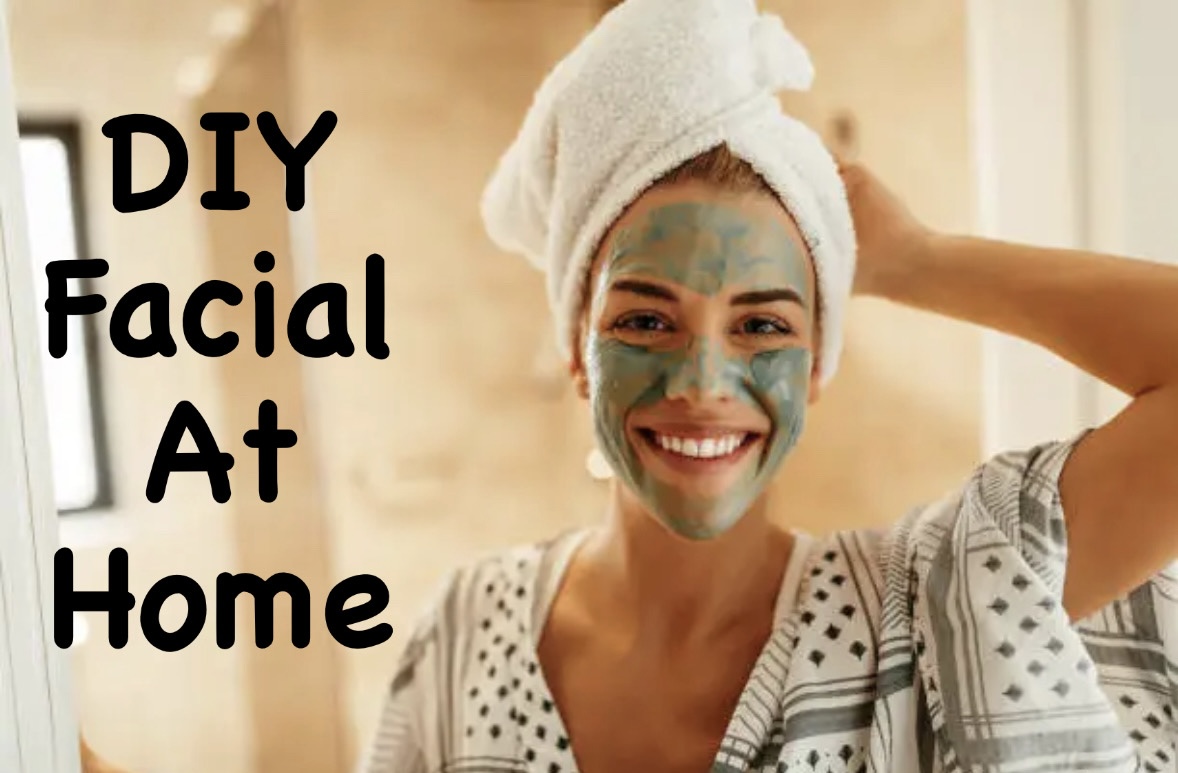
Luxury salon like facial at home. Sounds quite difficult? So, here I’m to make it super simple and easy and it will also give you same salon like glow at face. In today’s fast-paced world, our skin care often gets relegated to the background due to several responsibilities. Nonetheless, a facial doesn’t always require going to the spa. Just use some simple steps and items from your kitchen; you get a luxurious experience of spa right in your home. This blog post is all about a comprehensive guide for doing facial at home very easily.
Why Go for a DIY Facial at Home?
The benefits of choosing a DIY facial over salon treatments are numerous. It is affordable, convenient and allows you to control the ingredients to match your skin type and problems. Furthermore, this is self-care that can be relaxing while at the same time tailored according to your preferences.
Step-by-Step Guide to an At-Home Facial
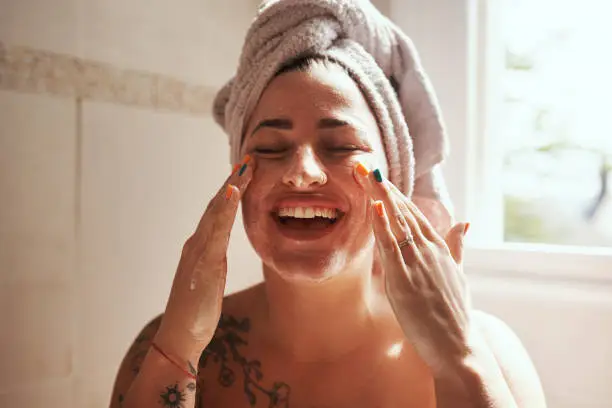
1.Cleanse: In order for you to clear off all of your foundation, dirt, etc on your face, start by cleansing it using make-up remover wipes. Be sure that you choose a mild cleanser appropriate for your specific skin type which could either be oily or dry or sensitive or even combination Rinse off cleanser left on your face gently using warm water then patting it dry with soft towel. This was the first step for doing facial at home.
2.Steam: This is the second step for doing facial at home. This helps in opening up pores thus enabling better penetration of skincare products into them. You can boil water in a pot and pour it into heat-resistant bowl. Lean over the bowl where hot steam is coming out and cover yourself using towel around head so as trap steam on face. Steam for 5-10 minutes taking care not to overheat.
3.Exfoliate: Exfoliating is the third and the major step for doing facial at home. It removes dead skin cells and promotes cell turnover, allowing the skin to absorb products better. Pick a gentle exfoliator appropriate for your skin type—options include sugar scrubs, enzyme peels, or exfoliating masks. Massage softly on spots that tend to be dry or clogged in slow circular movements. Rinse off with warm water.
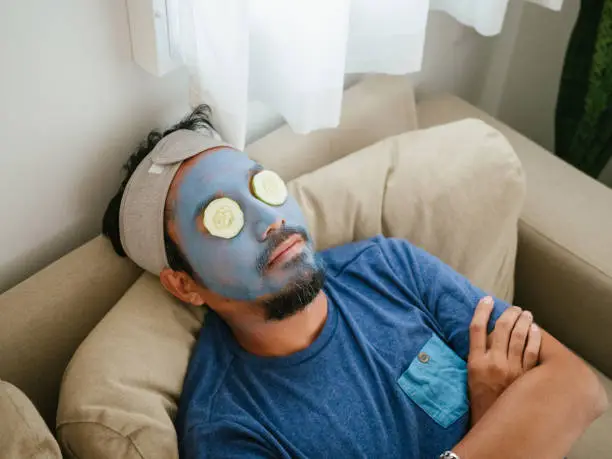
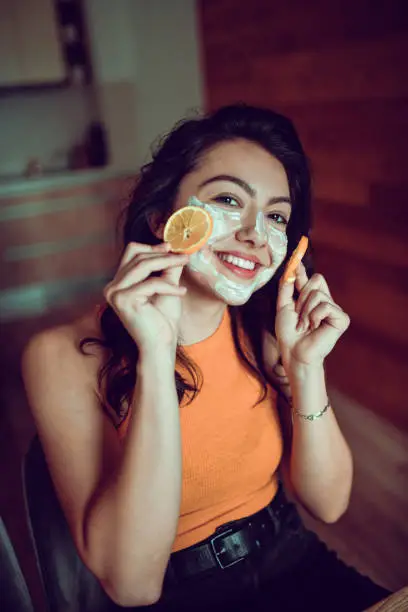
4.Mask: Mask is in one of the most important step for doing facial at home. They are an essential part of facials that serve various purposes such as moisturizing, brightening, and detoxifying the skin. Choose the right mask for your skin condition at present—clay masks work best for oily/acne-prone skins while hydrating ones are good for dry/sensitive ones. Apply it evenly all over your face except for the eyes and keep it on according to the prescribed time frame. Remove by washing gently with lukewarm water.
5.Tone: Toning enhances pH balance of the skin and helps tightening pores following cleansing as well as masking. Get toning lotion designed specifically for your type of face—better if these are alcohol-free so as not to dry out the dermis. Use a cotton ball and pass under your chin leaving behind no dirt.

6.Serum: The formulas in serums are heavily concentrated so they address particular issues in our complexion like crow’s feet, blemishes or sallowness Choose serum which has substances e.g., peptides, hyaluronic acid or vitamin C right for what you want skincare-wise Apply some drops using fingers that have been cleansed.
7.Moisturize: Hydration is critical for keeping skin healthy and elastic. Pick a moisturizer appropriate to your skin type such as gel-based products for oily skin or thicker creams for dry skin. Use more than enough amount of it and rub until it disappears in circular upward motions.
8.Eye Cream: The area surrounding the eyes is quite sensitive and needs special treatment. An eye cream with ingredients like caffeine that reduce puffiness or peptides that eliminate aging signs should be considered. Gently pat some onto the orbital region with your left-ring-finger.
8.Massage: Facial massage promotes circulation, reduces tension and enhances absorption of skincare products into the skin. Stroke gently upwards using your finger tips concentrating mainly on the forehead, cheeks, neck jawline regions when doing so. Additional relaxation can be achieved by incorporating such techniques as gentle pinching or tapping. Do massage well to get a good glow on your face and you’re at the last second step of doing facial at home.
9.Final Touches: Finish up your own homemade facials by applying lip balm to hydrated lips while also protecting them against damage caused by dryness. Give your face some few minutes to absorb them before you apply make-up or go to bed and this was the last step of doing facial at home.
Ingredients for DIY Facial at Home
Honey: moisturizes & fights bacteria
Yoghurt: contains lactic acid which lightly exfoliates
Oatmeal; soothes & decreases inflammation
Avocado: rich source of vitamins & hydrates the skin
Turmeric; brightens and evens out complexion
Aloe Vera – Sets irritation at rest! Promotes healing
Tips for a Successful DIY Facial
Patch Test: Always perform a patch test before trying new products or ingredients, especially if your skin is sensitive.
Consistency: Add a facial to your skincare regimen once or twice per week in order to maintain healthy and glowing skin.
Clean Tools: Avoid dirt from accumulating on your skincare devices so as not to encourage bacterial growth and acne breakouts.
Hydration: Hydrate your skin by drinking enough water daily.
May you like- 7 amazing ways of how to look pretty without makeup
Conclusion
Doing yourself a facial at home through the various treatments and products available is not only a nice way to relax but also an important part of maintaining vibrant skin. By going through these steps and customizing your own face treatment according to your specific type of skin, you can achieve amazing effects like those we see in most spas while still within the comfort of our homes.
It is essential to remember that when it comes to both achieving and keeping that glow all year round, consistency should be combined with quality stuff. Therefore, why don’t you treat yourself today by having some self-love moments leading up to a reinvigorating do-it-yourself facial? You will be glad you did! THANK YOU AND KEEP LOVING.